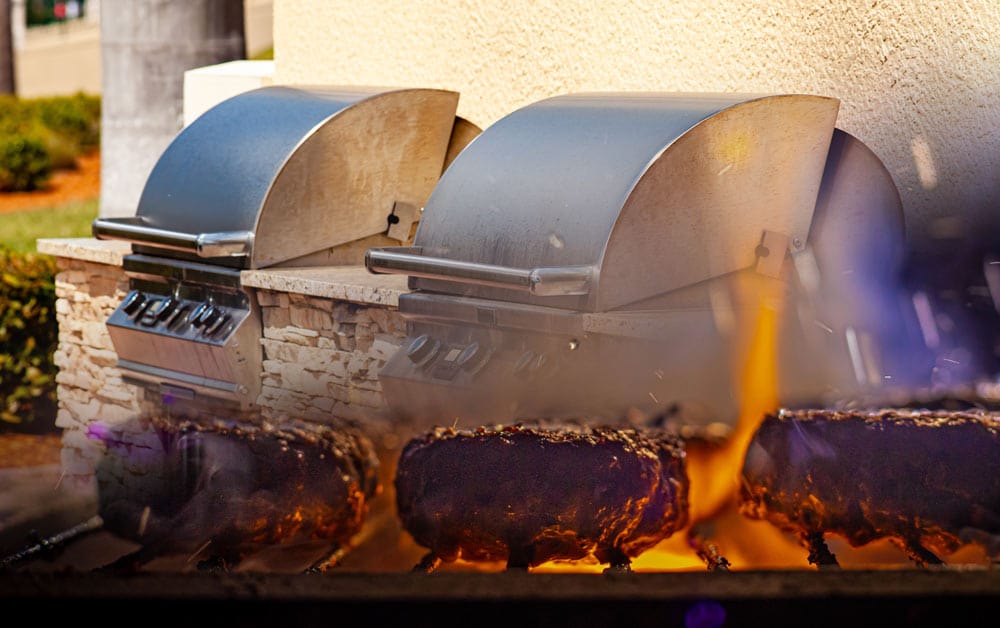
Connecting Your BBQ to a Gas Line: A Comprehensive Guide
Cooking outdoors on a barbecue grill is a quintessential part of many people’s lifestyles, especially during warm months. While propane tanks are convenient, connecting your BBQ to a gas line offers a more permanent and hassle-free solution. Here’s everything you need to know about how to connect a BBQ to a gas line safely and effectively. However, we advise you to call Tempasure to complete this task in accordance with city laws.
Understanding the basics
Before diving into the connection process, it’s crucial to understand the components involved:
1.Gas line: This is a dedicated pipeline that delivers natural gas or propane to your BBQ.
2. Shut off valves: Installed near the connection point, this valve allows you to turn off the gas supply in emergencies or when the BBQ is not in use.
3. Connector Hose: A flexible hose that bridges the gap between the gas line and the BBQ.
4. Conversion Kit (if needed): Depending on your BBQ and the type of gas (natural gas or propane), you may need a conversion kit to ensure compatibility.
Step-by-Step Guide to Connecting Your BBQ to a Gas Line
All these steps are ones your installation professional will take for you.
Check local codes and regulations: Before starting any work, check local building codes and regulations regarding gas line installations. Most areas require professional installation or permits for gas line modifications.
Gather your tools and materials: Ensure you have the necessary tools and materials:
- Adjustable wrench
- Pipe wrench
- Gas-rated Teflon tape
- Conversion kit (if needed)
- Safety goggles
Turn off the gas supply: Locate the main gas shut-off valve for your home or outdoor area and turn it off.
Prepare the bbq: If your BBQ is designed for propane but you’re connecting it to a natural gas line, install the conversion kit according to the manufacturer’s instructions.
Locate the gas line connection: Identify where the gas line enters your outdoor cooking area. This is typically near other gas appliances or marked with a gas line outlet.
Install the connector hose: Use an adjustable wrench to connect one end of the connector hose to the gas line outlet. Ensure it is securely tightened to prevent leaks.
Connect to the bbq: Attach the other end of the connector hose to the BBQ’s gas inlet. Use a pipe wrench to tighten the connection, being careful not to overtighten.
Test for leaks: Turn on the gas supply briefly and apply a mixture of soap and water to all connections. If bubbles form, there is a leak. Tighten connections further and retest until no bubbles appear.
Secure and Test: Once confirmed leak-free, secure the hose away from any heat sources or potential damage. Test the BBQ by igniting it and checking for proper gas flow and burner operation.
Adjust and enjoy: Adjust the BBQ’s burner settings as needed and enjoy cooking with the convenience of a connected gas line.
Safety Tips
Hire a professional (Tempasure) if you’re unsure about handling gas lines or if local regulations mandate it.
Inspect regulatory: Periodically check connections for leaks and ensure the shut-off valve operates smoothly. If you see any issues then call Tempasure.
Ventilation: Always use your BBQ in a well-ventilated outdoor area to prevent carbon monoxide buildup.
Connecting your BBQ to a gas line offers convenience and reliability for outdoor cooking.
By following these steps and safety guidelines, you can safely enjoy grilling without the hassle of propane tanks. Remember, safety should always be your top priority when working with gas appliances.
Whether you’re experienced or new to grilling, this guide will help you connect your BBQ to a gas line with confidence.
